Part 1 is here.
Part 2 is here.
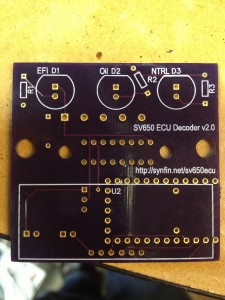
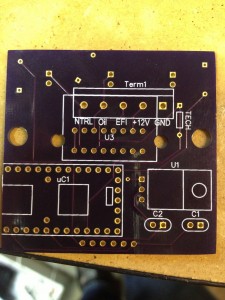
So I got the v2.0 boards back today from OSH Park and they looked really good:
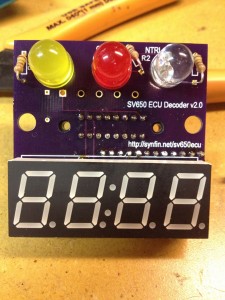
The back side of the PCB has solder holes for both the stock dash connector as well as a 5 screw terminal block in case you’ve already modified your wiring harness. As you can see, no problems mounting the connector for the wiring harness or LED display:
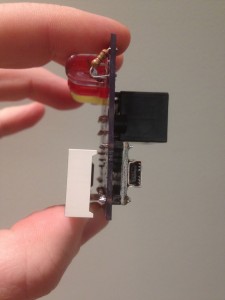
As you can see from the side view, I’ve “floated” the LED display off of the PCB. This was to make the LED closer to flush with the case once mounted and thus easier to read. The down side is that now the display is only supported by the 5 wires which isn’t very strong. So I’m probably going to have to add some holes to the PCB for some standoffs to support the LED display.
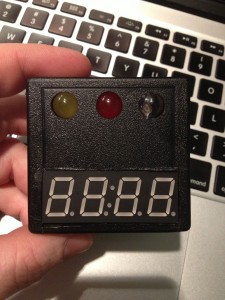
As you can see, I’ve gotten pretty good with drilling the holes out for the indicator lights, but cutting that hole for the LED display was really painful. I used a sharp utility knife to cut the hole rather then a dremel to be more precise, but I just ended up getting a blister from working so hard. :(
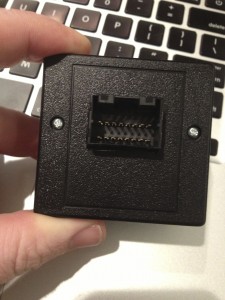
Here you can see the hole I cut with a dremel for the wiring harness connector. It’s serviceable but not that professional looking IMHO. One thing I haven’t done is cut a hole in the side of the case for the USB connector. Since I’ll be able to view the ECU error codes on the display, there’s no longer a need to plug in a computer to read the codes, so no hole. If I have to reprogram the Teensy board for any reason, it’s just two screws to remove the board from the case.
So I plan on testing the board on Saturday. Feel pretty confident that it should work. I do plan on doing another revision of the board to include:
1. Standoffs to support the LED display
2. A 5mm LED for low fuel light
The good news is that I’ve aslo mapped the ECU values to temperature so the 4 digit LED display can now have a secondary purpose: showing the water temperature when there isn’t an EFI error code. So basically, this little board will have everything you’ll need to remove the 2nd gen SV dash and run a GPX Pro, Starlane, AIM or other aftermarket dash unit.
But assuming the board works on Saturday, there’s no reason I can’t sell one of the other v2 prototype boards (will have everything except the low fuel light). The one thing I haven’t figured out is how I can accurately and easily cut the holes for the LED display and wiring harness connector. If I can’t come up with a better solution, I’ll probably end up including the case, but it’s up to the end user to cut the holes. I’m not really happy with that idea, but I can’t spend an hour on each unit trying to cut square holes with an exacto knife in ABS plastic.

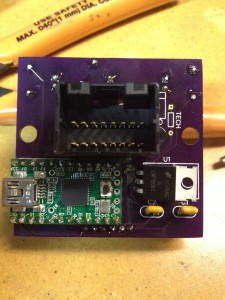
Quick update: So I tried things out yesterday on the bike. Unfortunately, that’s when I realized that the pins for the wiring harness connector (the big black connector on the back of the PCB) are all wrong. Apparently, I swapped them when designing the board. So now I have to redesign the board and wait a few more weeks for new boards. :(